Email filters allow you to define a rule for incoming messages, it provides a way to organize automatically and perform actions on these messages for example: delete the message, redirect tyhe message to another address, move the message to another folder, etc.
There are two types of filters on cPanel, Global Email Filters which applies to all email addresses or Email Filters which applies to a specific email account.
How to create a global email filter?
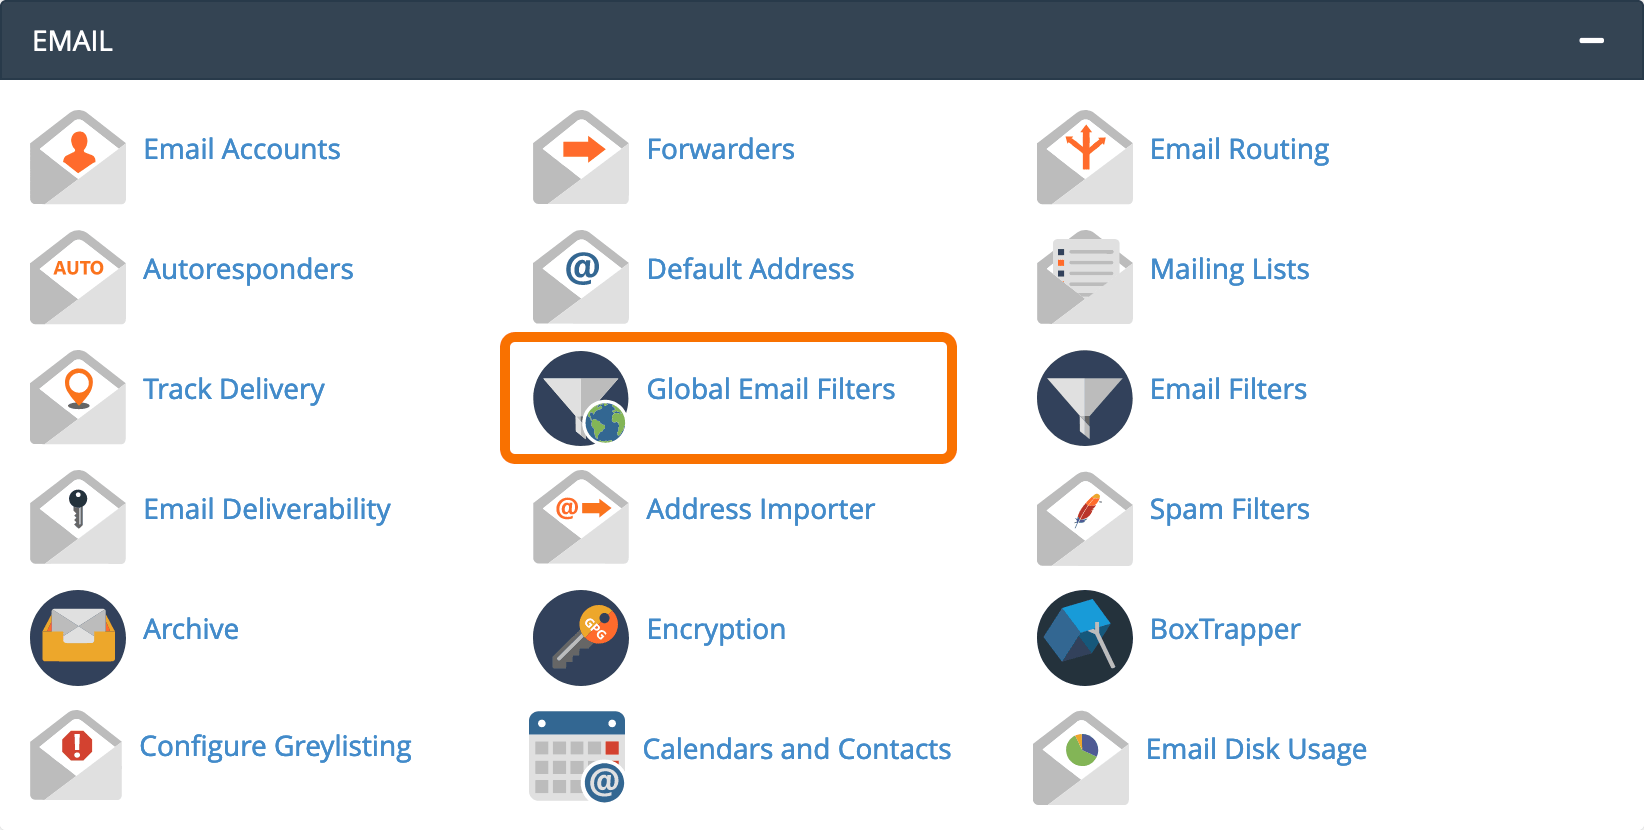
1. Log in to your cPanel account and go to: EMAIL > Global Email Filters.
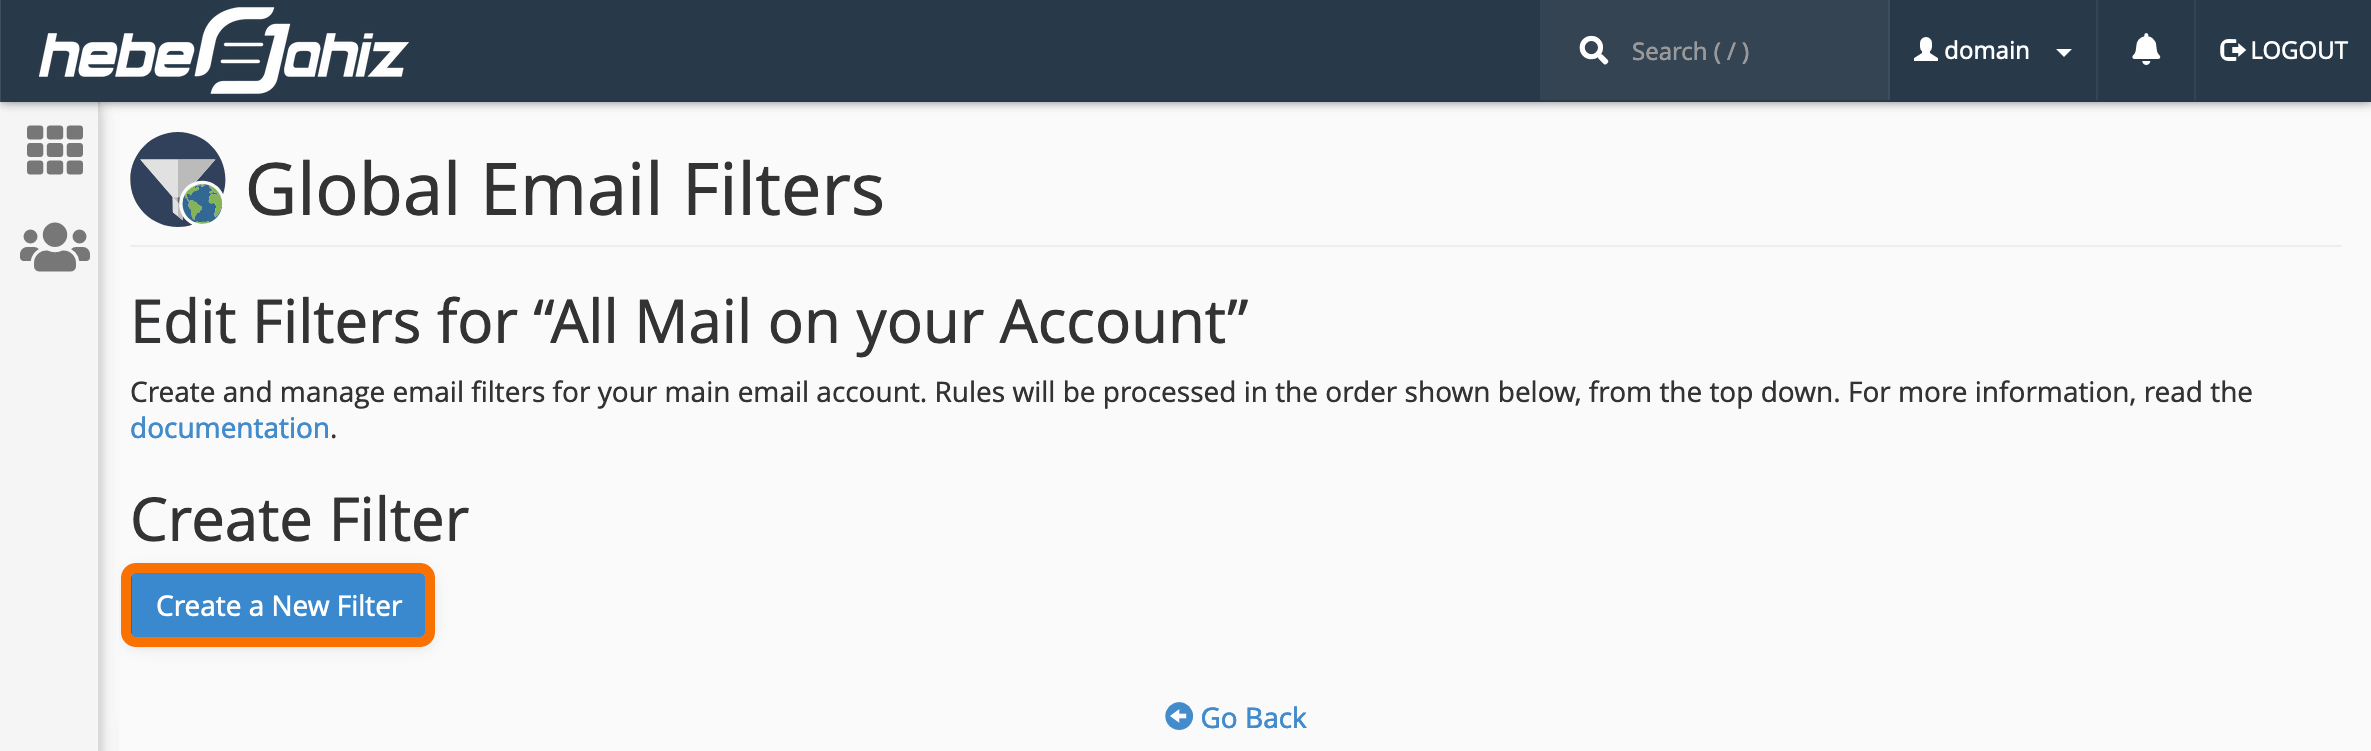
2. Click on "Create a New Filter".
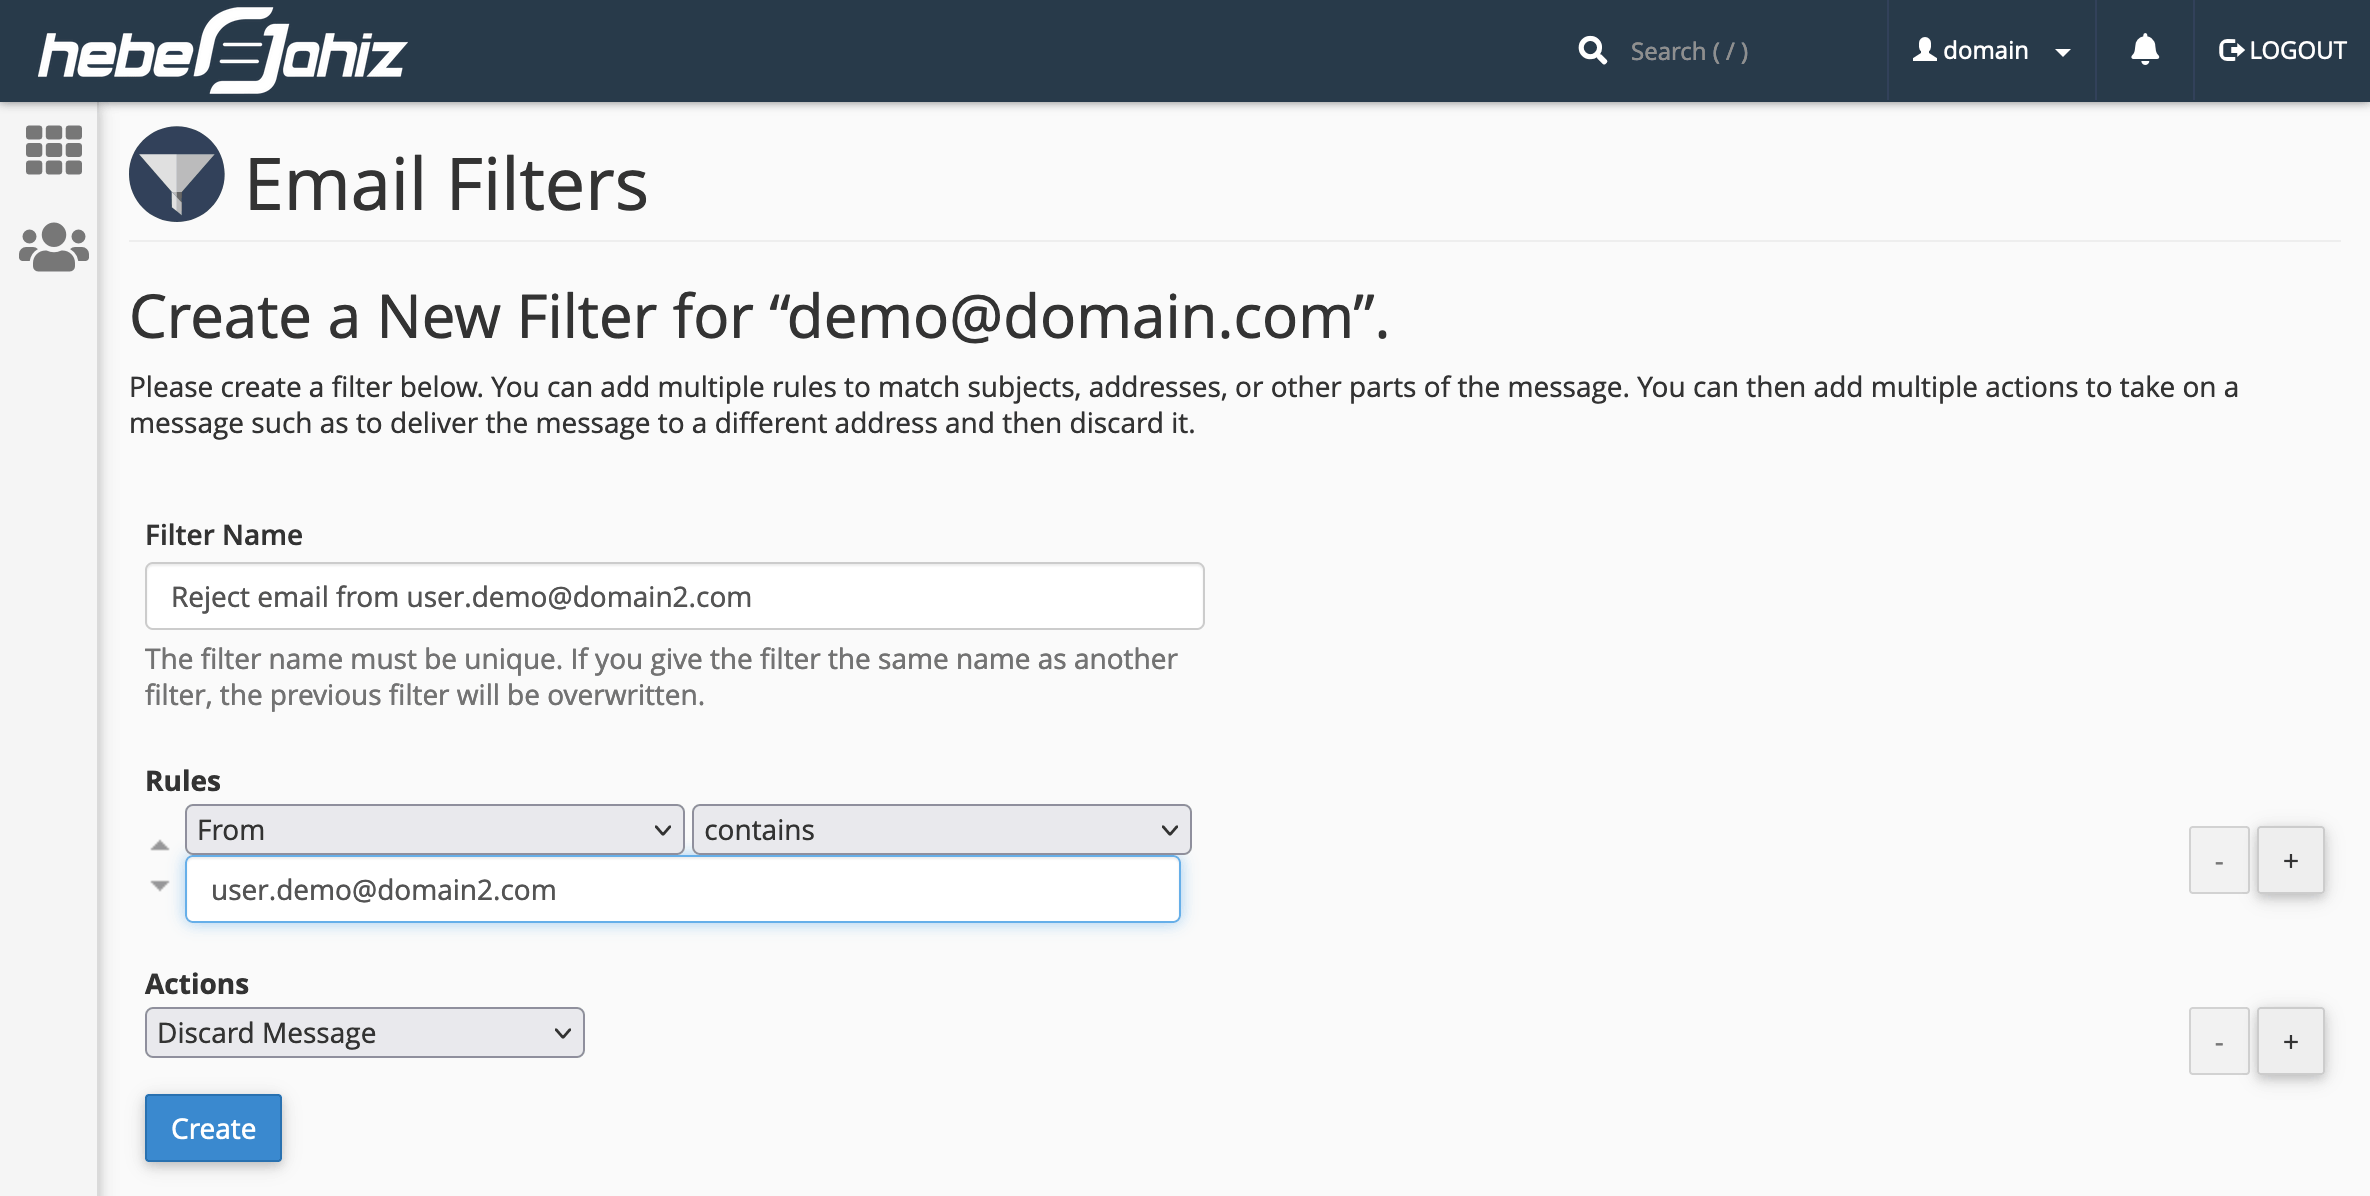
3. Complete the required fields and click on "Create".
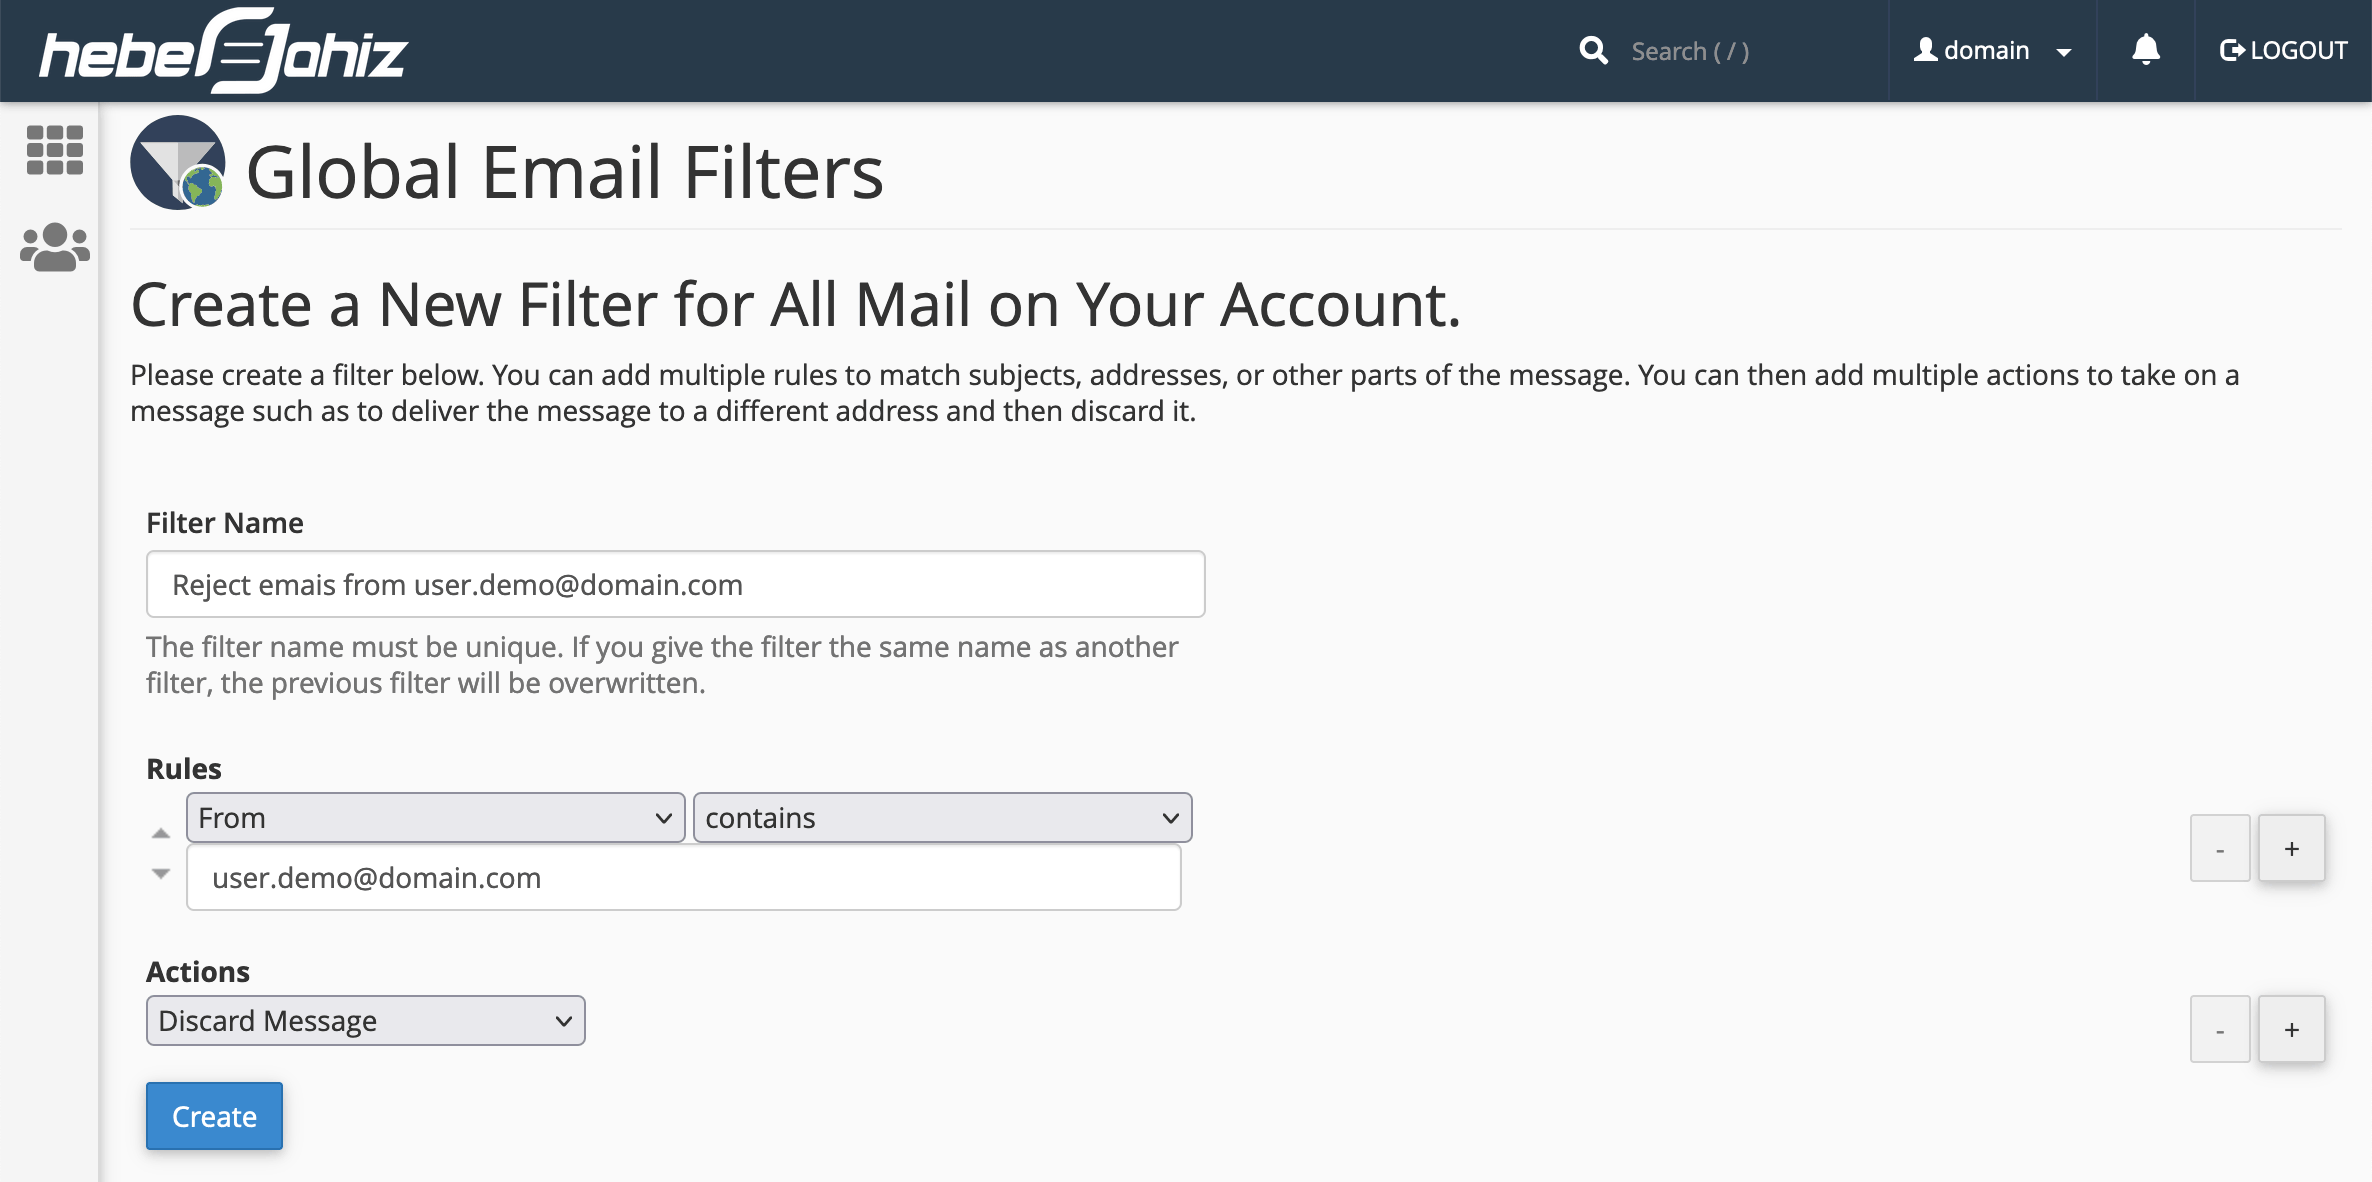
- Filter name: Choose a filter name, the name must be unique. If you give the filter the same name as another filter, the previous filter will be overwritten.
- Rules: You can define rules according to several criteria. In this example, messages emails that are sent from user.mail@domain.com will be automatically deleted.
- Actions: Defines what to do when a message meets the conditions.
How to create a user level filter?
You can create a user level filter in two ways:
Create a user level filter from cPanel.
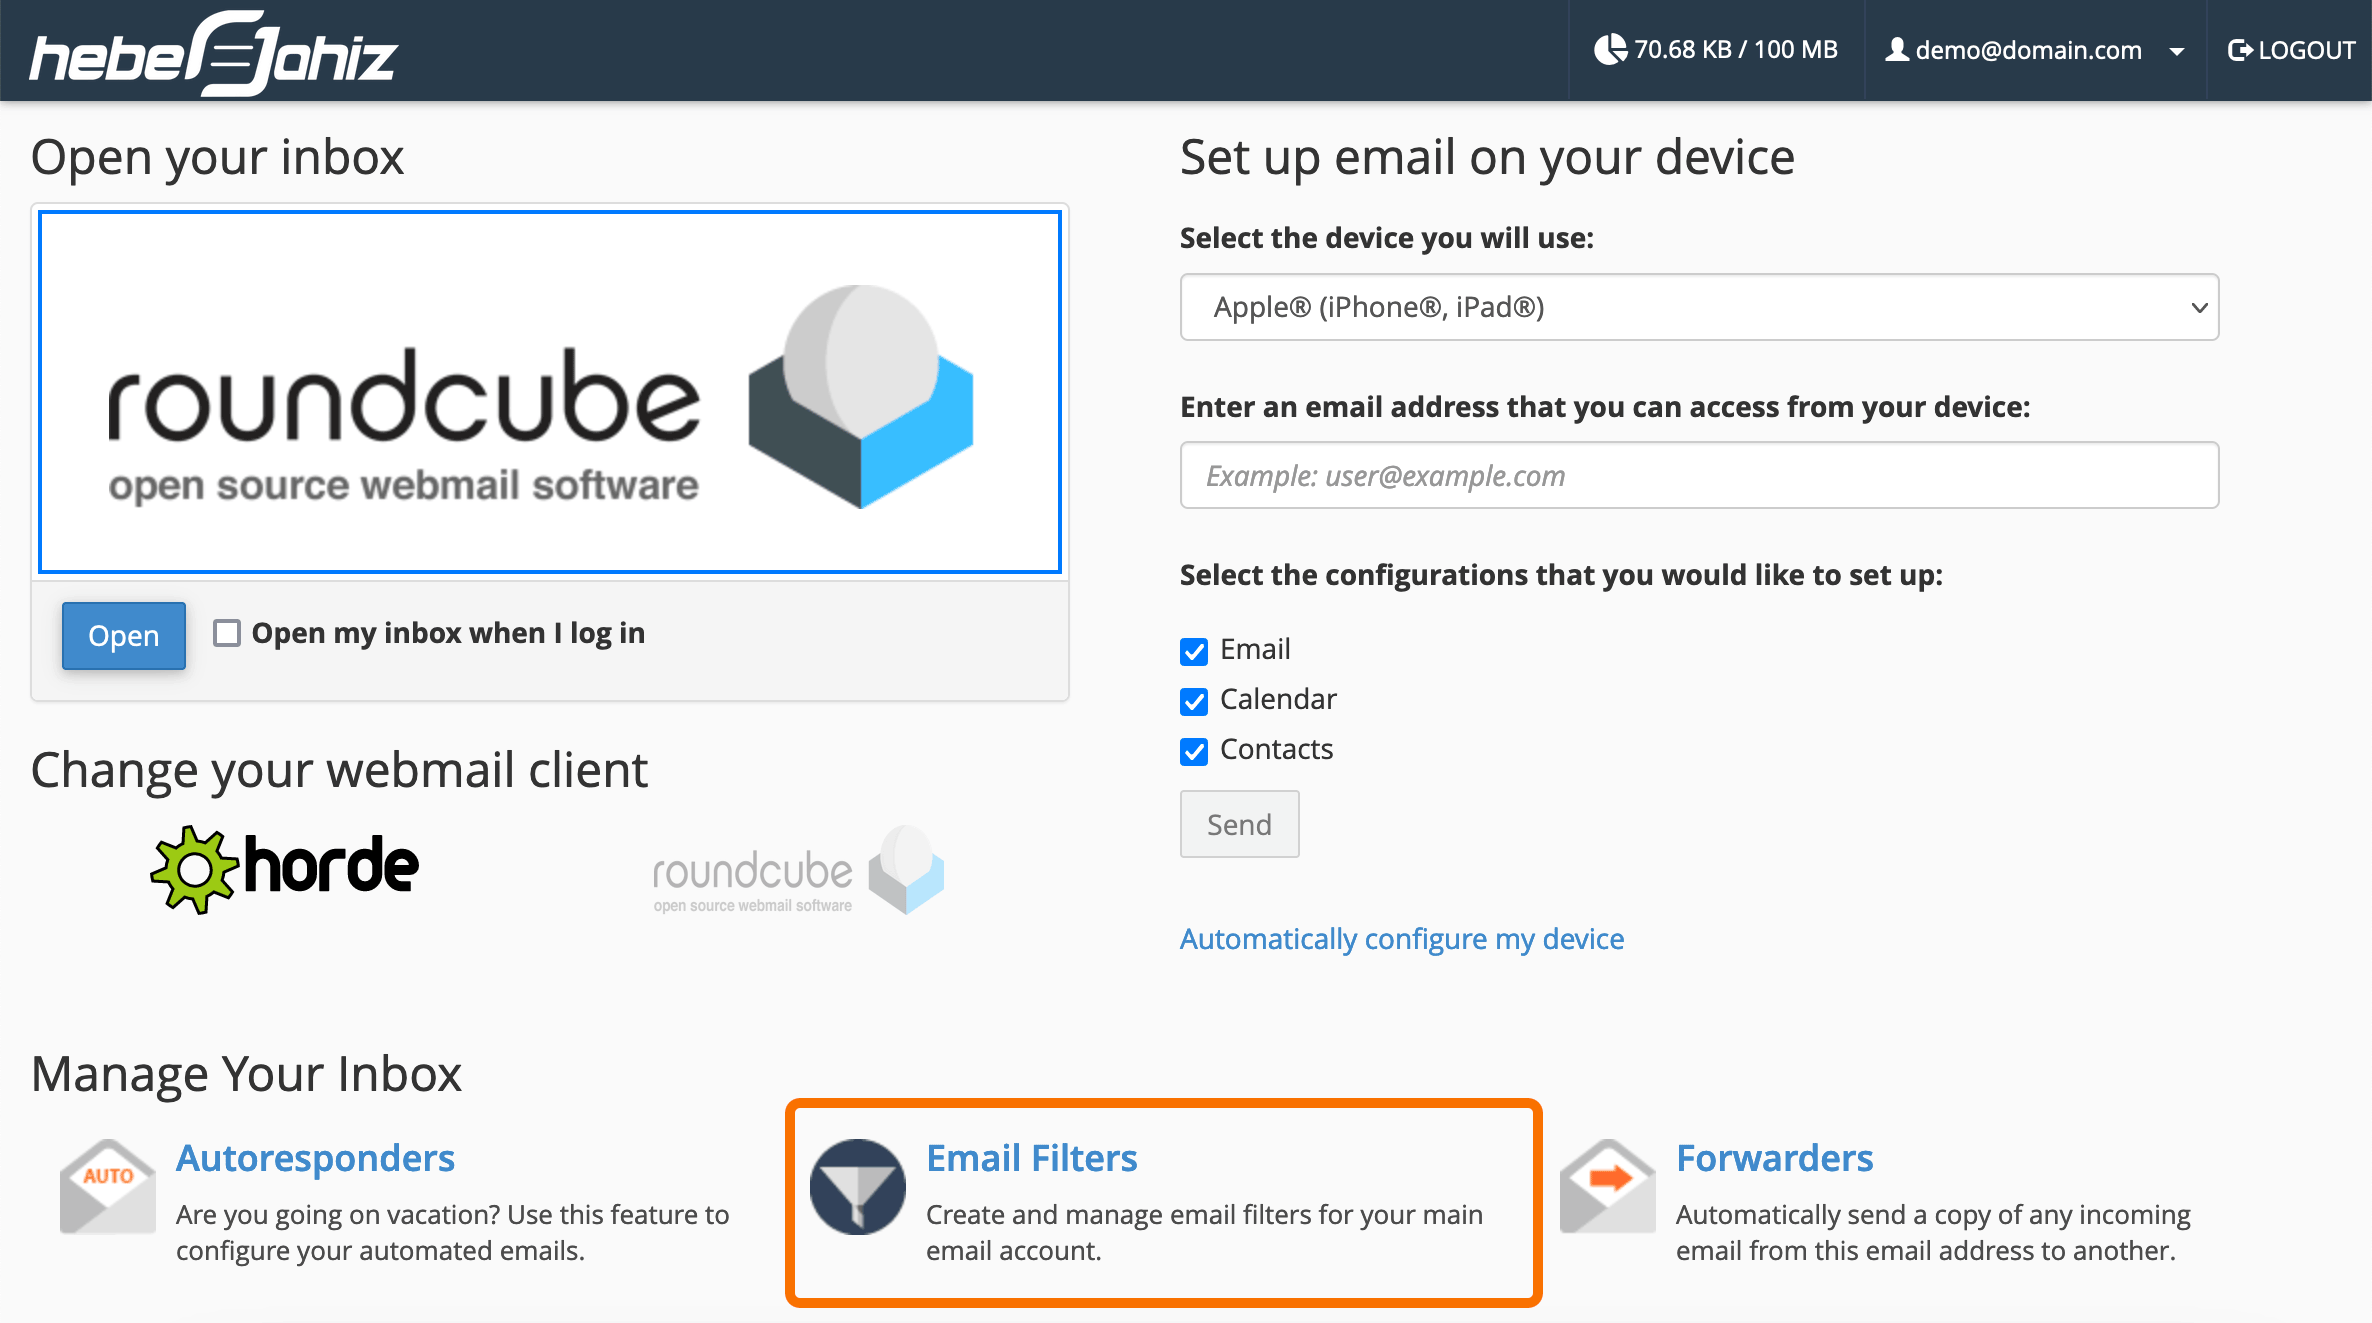
1. Log in to your cPanel account and go to EMAIL > Email Filters.

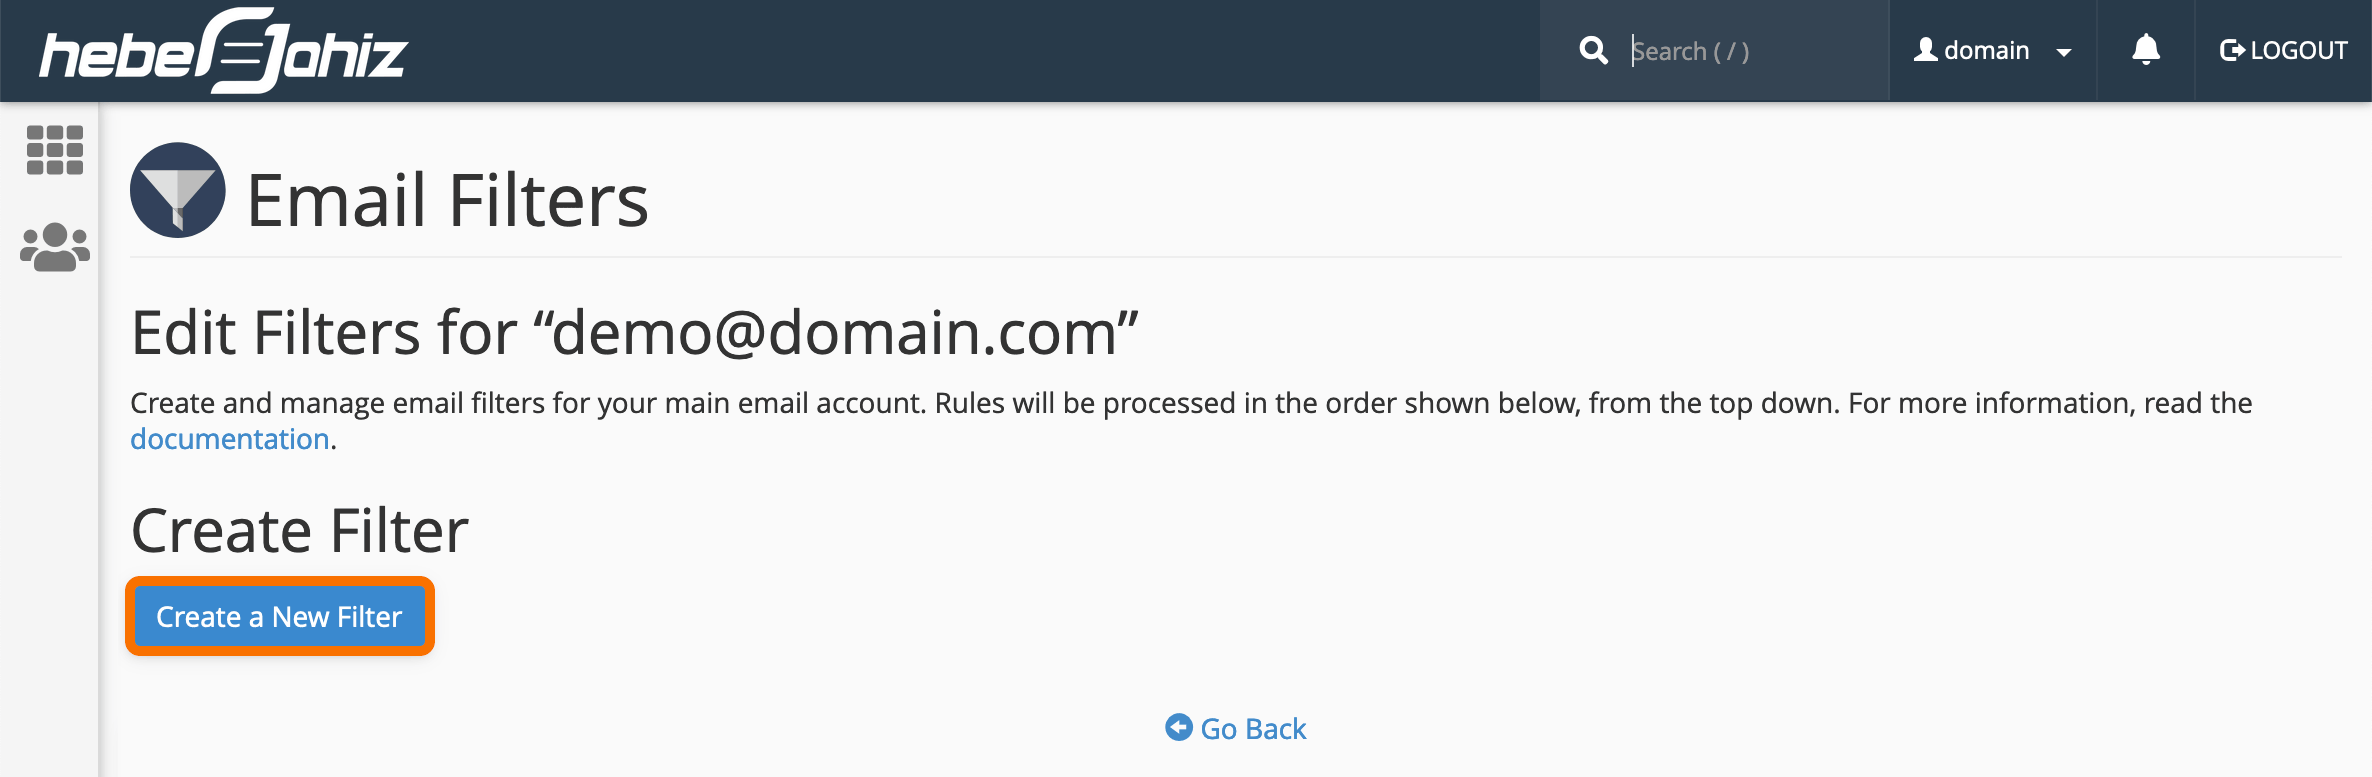
2. Find the email address you want to create a filter for and click on Manage Filters

3. Click "Create a New Filter".
4. Complete the required fields and click on "Create".
- Filter name: Choose a filter name, the name must be unique. If you give the filter the same name as another filter, the previous filter will be overwritten.
- Rules: You can define rules according to several criteria. In the example of the screenshot above, emails that are sent from user.demo@domain2.com to demo@domain.com will be automatically deleted.
- Actions: Defines what to do when a message meets the conditions.
Create a user level filter from Webmail.
1. Go to https://webmail.domain.com*. Enter your full e-mail address and the current password then click on the "Log in" button.
* You must change domain.com with your domain name
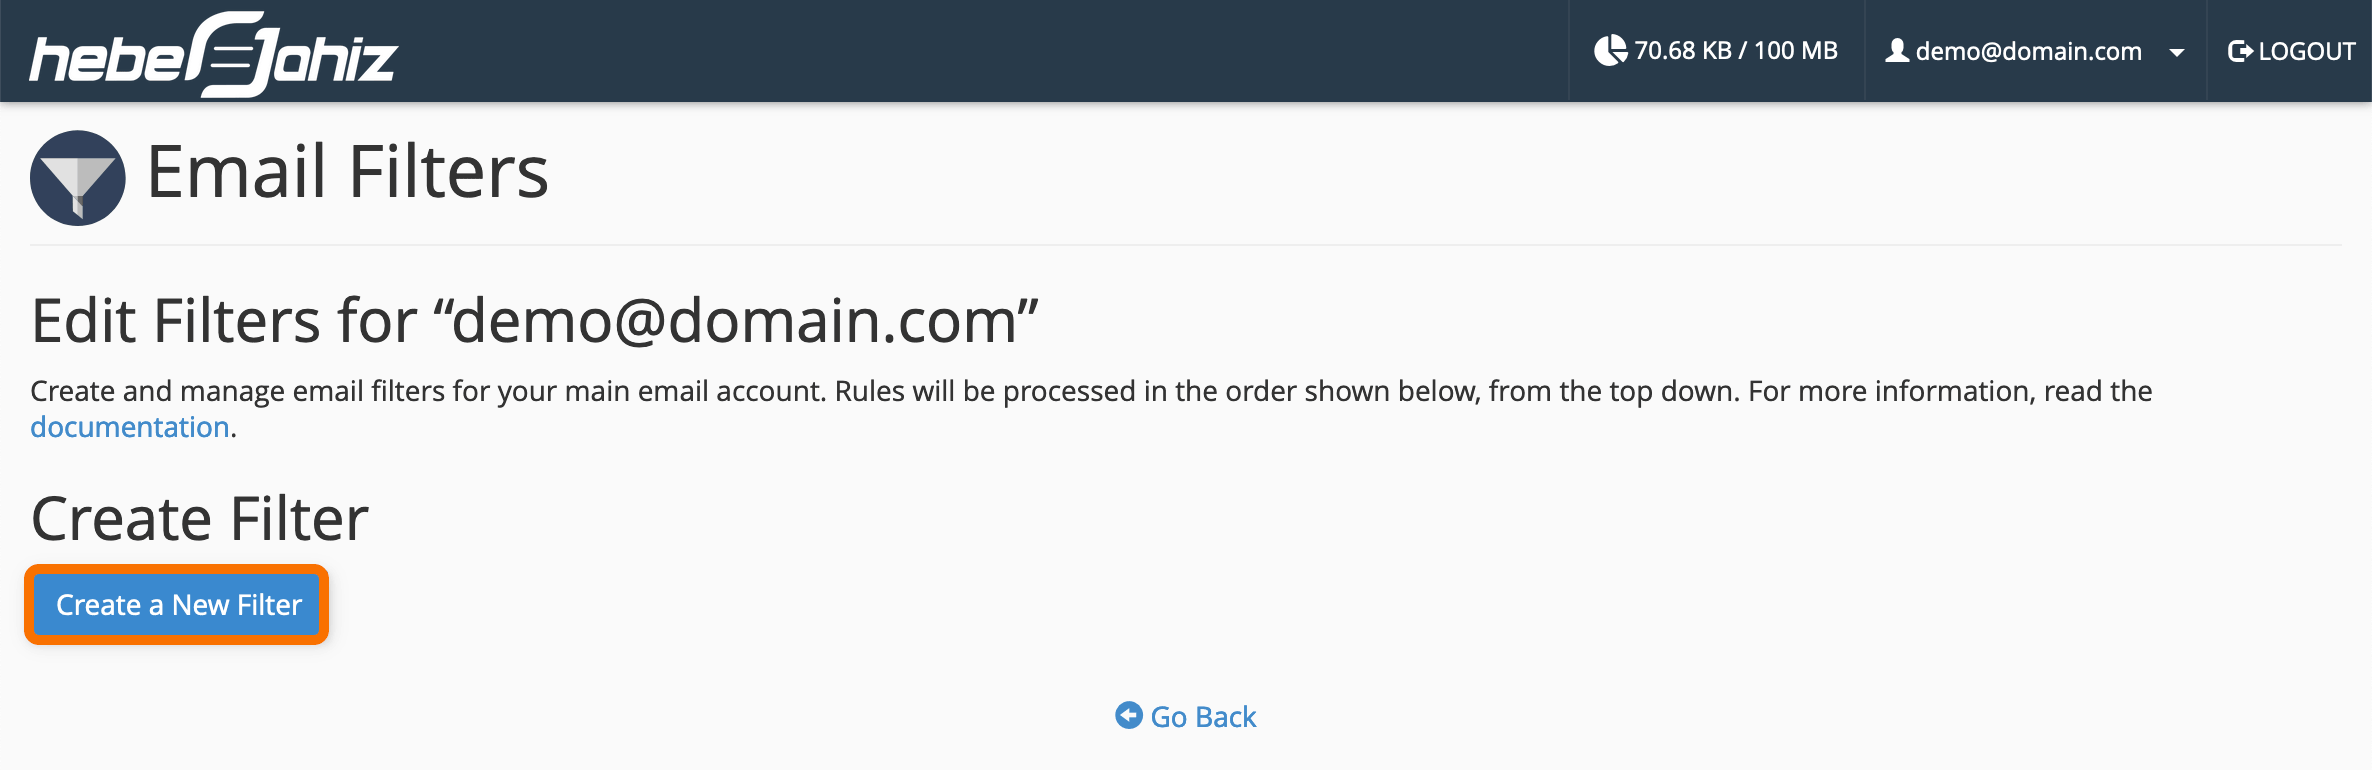
2. Click on "Email Filters".
3. Click "Create a New Filter"
4. Complete the required fields and click the "Create".
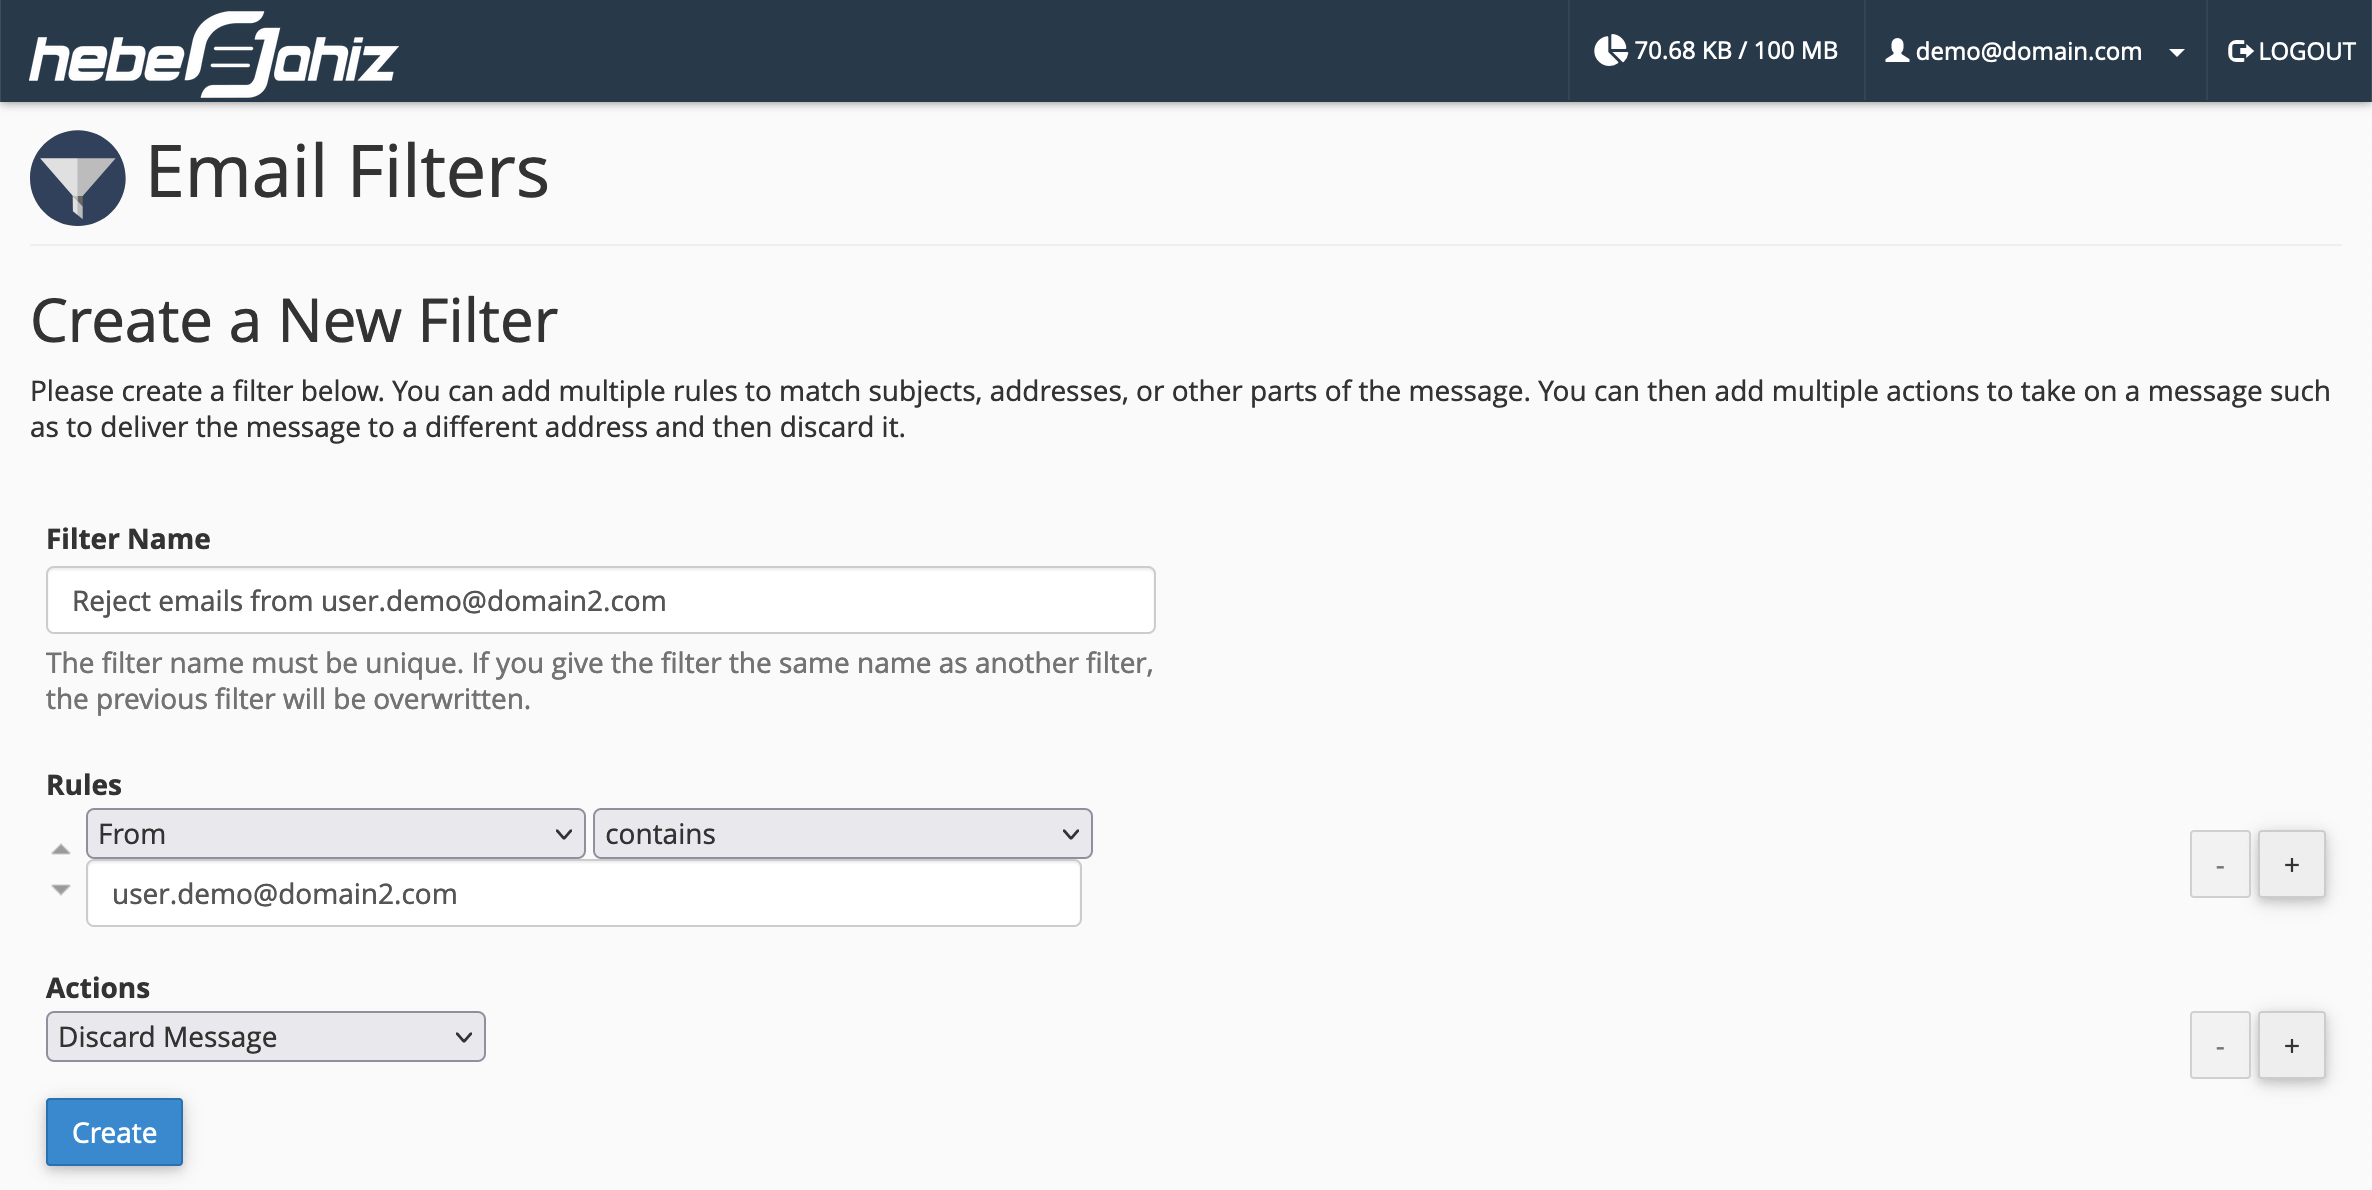
- Filter name: Choose a filter name, the name must be unique. If you give the filter the same name as another filter, the previous filter will be overwritten.
- Rules: You can define rules according to several criteria. In the example of the screenshot above, emails that are sent from user.demo@domain2.com to demo@domain.com will be automatically deleted.
- Actions: Defines what to do when a message meets the conditions.
Note: You can configure each filter with multiple rules or actions by clicking the plus sign.
The possibilities are unlimited with the proposed filters, by combining them it is possible to do quite powerful things. To find out what you can do, you can visit this page: https://docs.cpanel.net/knowledge-base/email/how-to-configure-email-filters/